The journey of a thousand miles begins with the first step, and this is mine.

Category: Skills Page 1 of 3

group of people in red jacket standing on brown rock formation

What happens when your plans end up Foxtrot Uniform?

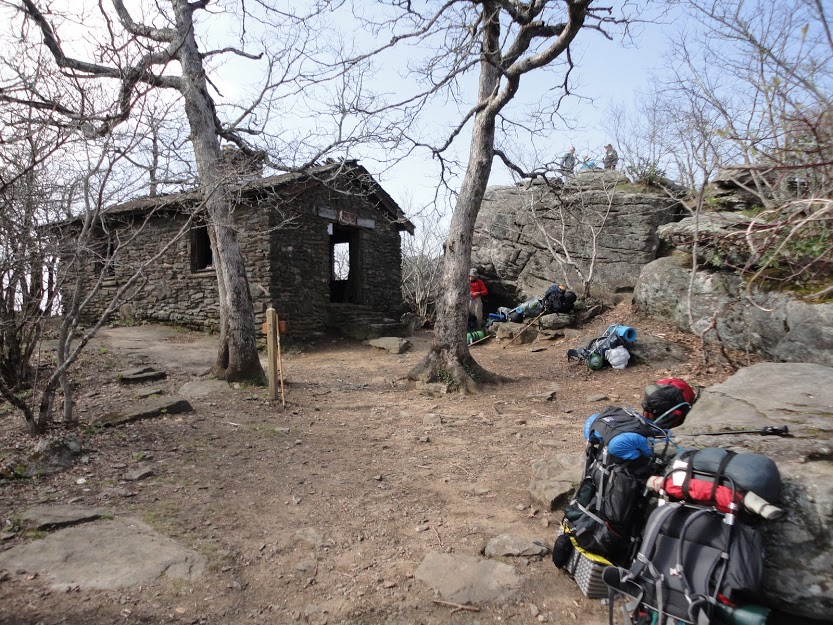
You’ve planned a weekend camping and hiking trip with friends. Overall, there is a 12-14 mile hike over two days with at least a gain of 2000 feet in elevation. Your group’s has mixed hiking experience, but you’ve done this trail at least a dozen times over the years. You travel hours to get to the trailhead. The first night’s campsite is a little bit of a tough hike but it’s only four miles in. One of the new hikers starts to struggle on this first leg, however, you make it to the first wilderness camp safely.

Maybe they are just getting used to their pack. Maybe they are just getting used to the strenuousness of the trail. Maybe they will be good to go in the morning after a hot meal and a good night’s sleep. Maybe. What if they are not? The next morning, you are looking at a steep uphill climb to regain the main trail. Now it’s clear one of your hikers just can not go on. For whatever reason, they can’t go any further. Now what?

What is your backup plan if someone falls, or is injured in the middle of your next adventure? What’s the exit plan in the event of an emergency? Is there one? I don’t think most people plan for the exits as they should. After all, who wants to plan for a disaster? We go outdoors for a good time, not to get hurt, end up in the hospital, or worse. It often seems accidents happen in remote locations where it’s hard to get help or get the injured out.

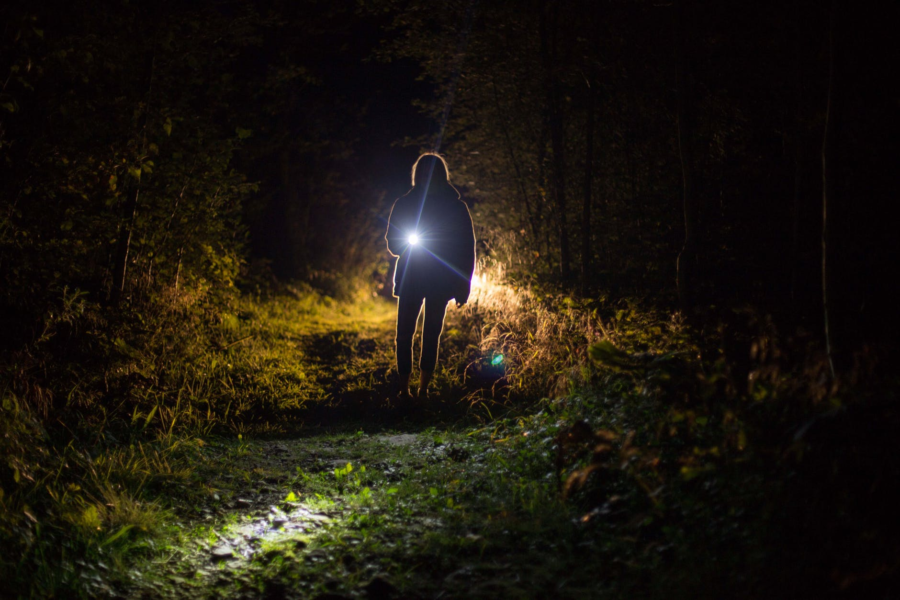
In recent news, a nineteen-year-old experienced hiker died doing a solo hike in a state park when something went completely bad. Another person fell to their death from a popular hiking trail in Zion National Park. Search the internet and you’ll find tons of hiker misadventures. While hiking accidents happen all the time, it’s the worst which makes the news.

I think there is a general misperception where people generally feel safer in state or national parks. Myself included, tend to consider organized parks as safe places with help always nearby. I can just call the rangers and they will come to get me. Right? Most likely, no. The idea “parks are safer” is a dangerous assumption. Most parks have minimal staffing levels at best. Large parks can have very isolated areas which are difficult to get in and out of. Even with popular destinations, help can be hours or days away.

Trip contingency planning simply means planning for problems, understanding what are your exit options, and how to get aid if something goes wrong. Planning for contingency events helps everyone enjoy a safe trip. Add these contingency topics to the planning for your next outing: training (both yours and the group’s), the forecasted weather, the essential items, a trip plan (for use by others), and an emergency plan (for use by you). Let’s take a quick look at these topics.

Training

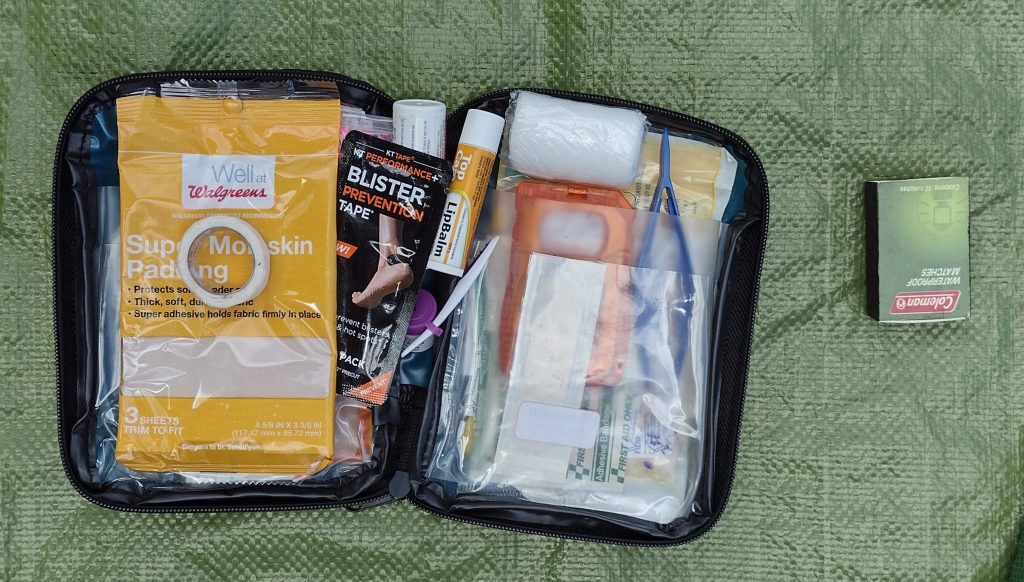
First-Aid is one type of training I will always highly recommend. You should understand, most first-aid courses assume secondary aid, such as Emergency Medical Services (EMS), is less than 30 minutes away. If you are hiking in a remote section of the backcountry, secondary aid may be hours or days away. Take a simple, basic first-aid and CPR (CardioPulmonary Resuscitation) course to start with. As you find an interest you can take more advanced courses like a Wilderness First-Aid class. The American Red Cross has some good courses. You can even do some of the courses online to get started.

Rock outcrop
Rock outcrop

Weather

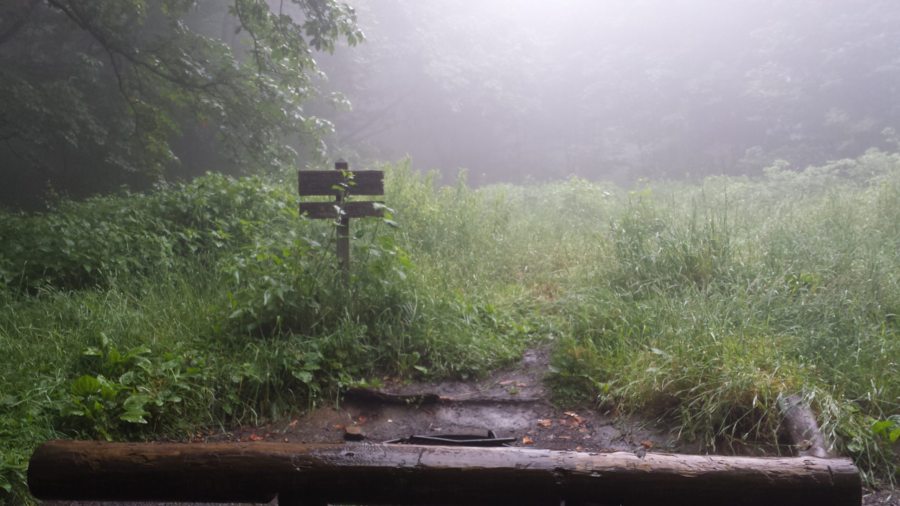
Based on most of the news articles I’ve read, many hikers lost or injured die of exposure to the elements. Regardless if injured or simply lost, they did not have adequate protection from the weather to survive until found. It’s important to both plan for the typical seasonal weather condition and to closely watch the area’s local forecasts for weather changes in the days leading up to the outing. I often find borderline weather conditions can shift significantly in a day or two, sometimes for the good, sometimes for the bad. It’s good to be prepared for the bad.

View of Table Rock from Bald

Essential Items

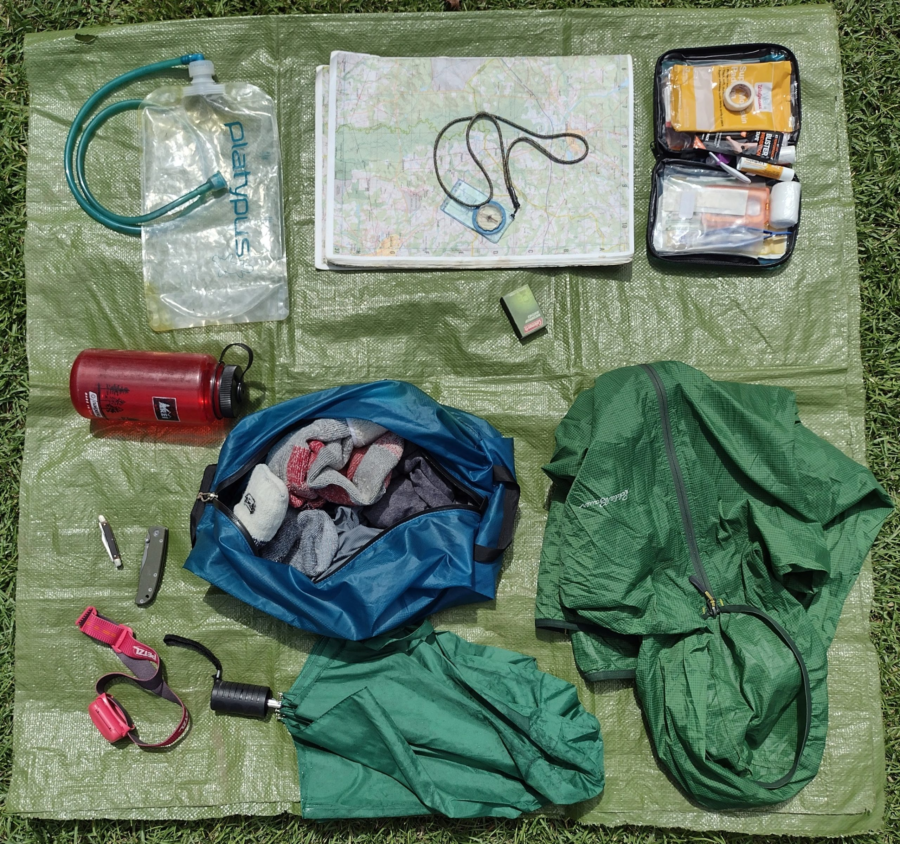
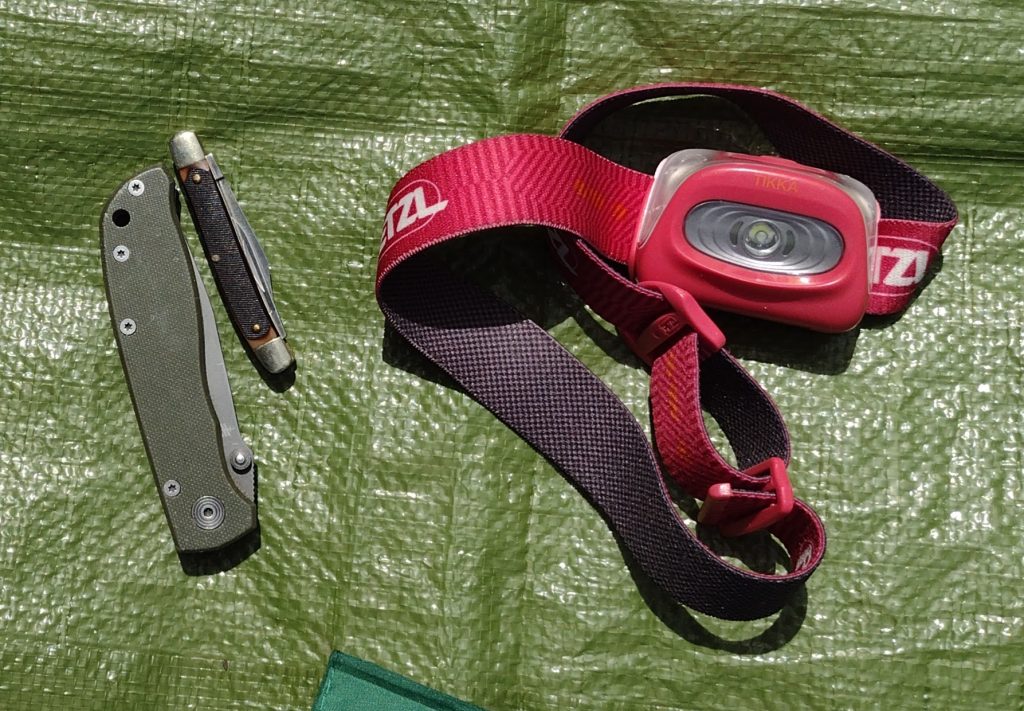
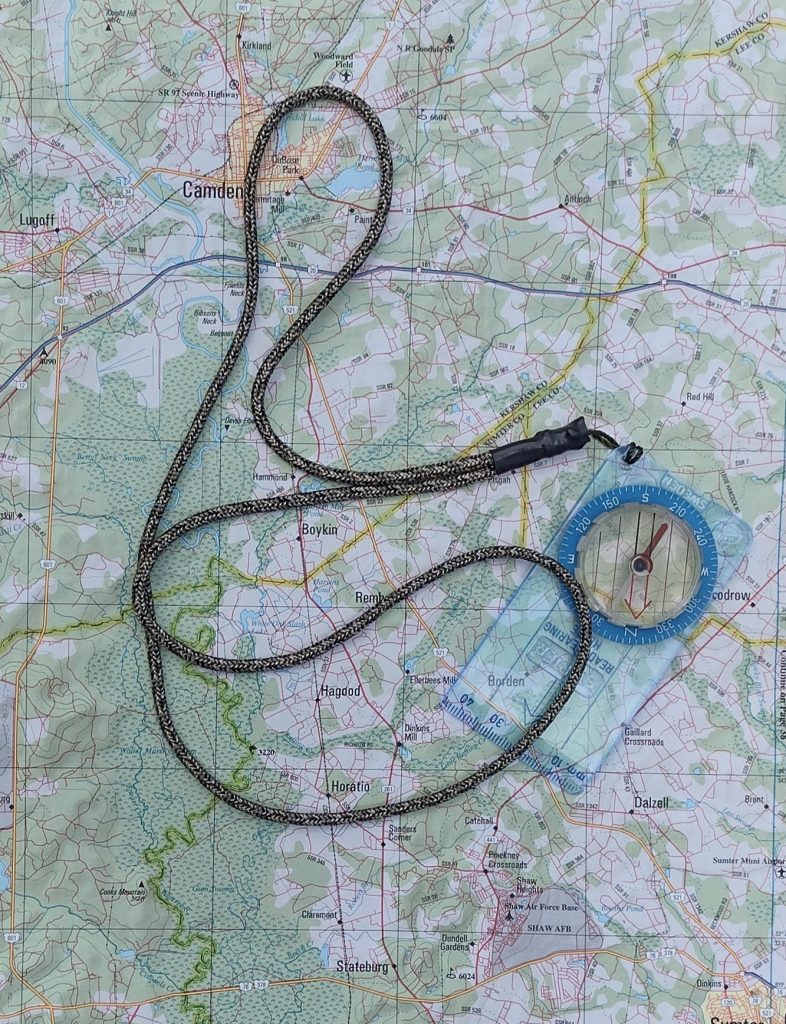
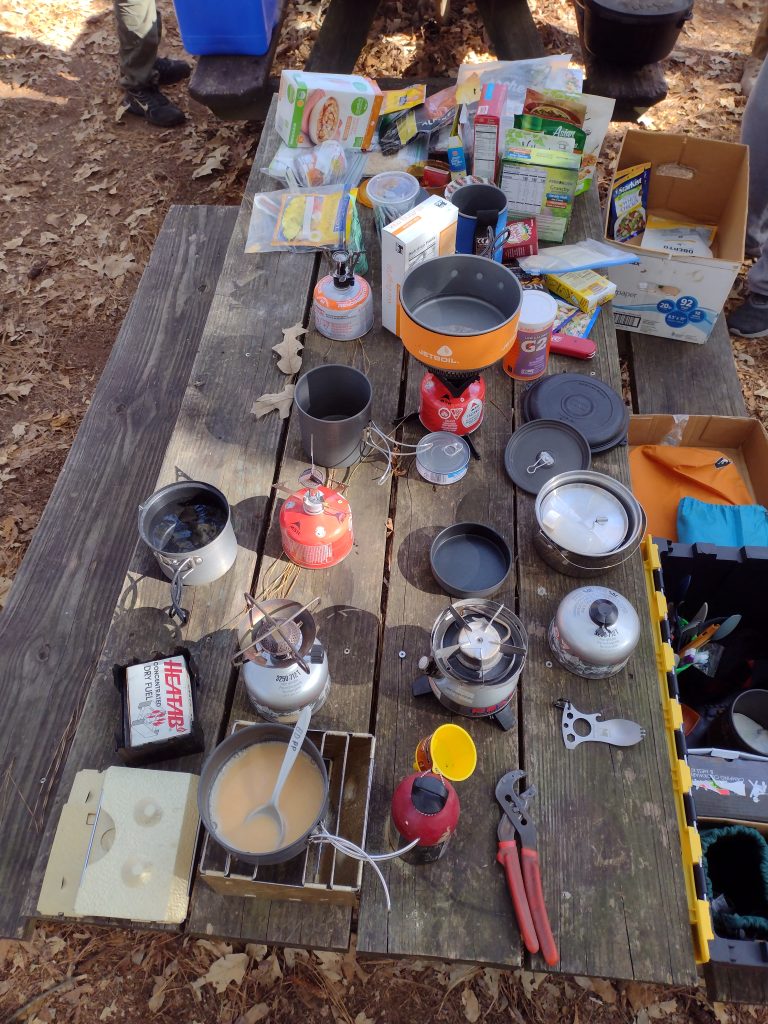
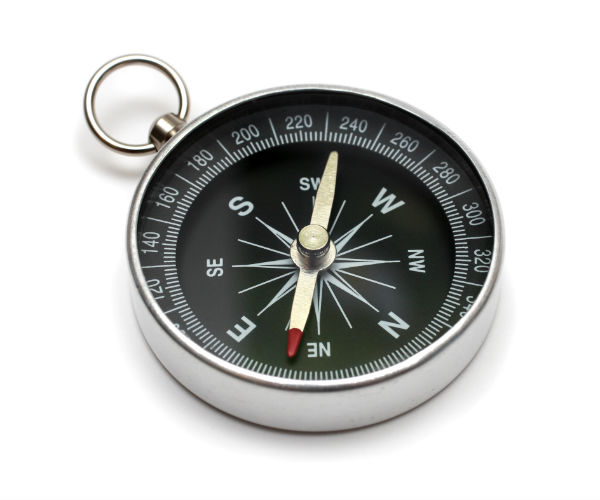
These are the items every hiker should always carry in some form or fashion. These items could include things like matches, compasses, food, water, and even extra clothing. Based on the planned activity, you may need to modify what you carry. Follow my link for a deeper discussion on the essential items.

10 Essential Items
10 Essential Items

Hiking or Trip Plan

Like a boating float plan, you leave this plan behind with a responsible person in the event the hikers don’t return on time. The information in this plan will aid searchers and rescuers in locating and extracting those in need. A good hiking plan should include the following information:

  • The name, description, and information about the lead hiker/person in charge.
  • Any vehicle information, usually left at a trailhead, like the make/model of cars, color, tag numbers, etc.
  • Equipment the hikers have with them. Do they have first-aid kits, a way to make a fire or signal, cell phone numbers, etc?
  • Hiking trip details: departure date, return date, destination, proposed route, stops along the way, etc.
  • Name, and description of hikers in the group. This should include any important medical information.

Emergency Plan

This is the plan the hikers take with them for use in the event of an emergency. Sometimes your emergency plan is just a mental note of the nearest road crossing. But what happens when the one with the “mental notes” gets separated from the group, or is unconscious? This plan should include written emergency contact numbers for logistical support like shuttles or pick-ups at a trail crossing, local rescue phone numbers, the nearest hospitals along the way, and maybe even a route map. Do a short “safety briefing” at the beginning of the outing or the trailhead, just to review the route, and highlight any important safety information with the group.

So be sure to ramp up your next adventure planning with these contingency items. You’ll be better able to turn a possible disaster into a simple change of plans.

***

What does Foxtrot Uniform mean? You may have guessed by now. Let’s just say it’s sort of related to FUBAR and SNAFU. This is when all your planning gets turned upside down and now you have to create a plan “C” on the fly ’cause your plan “B” isn’t going to work out anymore. Remember, in nature, there are no safeties.

#

Did you enjoy or find this post useful? Please let me know by leaving a comment below or join me on Instagram or Facebook.

10 Essential Items

Heading Out? Don’t Forget to Pack These 10 Essentials

Whether you are heading down the trail for a quick hike or gearing up for a long trek, you don’t want to forget these essential items. You’ll need to start somewhere and this list is a place to start the discussion. There are many versions of these essential things and infinite options for each item. Of course you will want to scale down or up these items based on your specific outing needs. For example, the first-aid kit I take with me on a week long backing trip is vey different from the first-aid kit I take with me for a local day hike. So lets walk through the 10 essential items.

Flash light
For me, a simple headlamp works well for almost all situations here. Light weight and easy to pack even for a day hike when you maybe coming in around or after dark. Seldom have I ever needed a handheld style flashlight when hiking. As a trek pole user I prefer the headlamps as it keeps your hands free for other purposes. I would not recommend overly fancy lights or headlamps needing special or button batteries. I’ve seen hikers left in the dark because they couldn’t find replacement batteries in town. Keep it simple, AAA or AA batteries are every where. For short hikes, just make sure you have fresh batteries. For longer treks maybe pack an extra set of batteries.

10 Essential Item Headlamp Knife

Pocket Knife
Useful for light cutting and trimming. My primary hiking knife is a small simple folding two blade pocket knife. It’s useful for cutting moleskin, opening meal pouches, chopping beef jerk, even getting out the occasional splinter.

10 Essential Item Extra Clothes
Extra Clothing and Socks

Extra Clothing
This can be a simple change of socks, or a change of underwear, or several days of layered clothing. For a local day hike, I might take an extra pair of socks if I thing the trail will be wet. It’s nice to change in to dry socks for the drive home. For backpacking, a hiker travels on their feet so socks are important. For clothing, I usually only pack a change of base layer/underwear, but will always take at least 3 pairs of socks. One pair for today, one pair for tomorrow, and one pair only for sleeping. I try to keep my sleeping socks clean, dry, and reserved only for sleeping. I’ll hike in a pair, then swap them out the next day. My yesterday pair will hang and dry/air on my pack and become my “tomorrow” pair.

First-aid Kit
You can pick up a simple first-aid kit just about any where not much bigger than a deck of cards or even make your own. However you really do need to know how to use what you pack. If you’ve never had any first-aid training, look up an organization like the Red Cross for training in your area, you can even do some of the training on-line. For a day hike a small zip-lock bag with a bit of moleskin and a few bandages is probably enough to get started. For longer hikes I carry a small group kit (I often hike with small groups) containing things like bandages, gauze pads, tape, extra mole skin, antibiotic ointment, ace wrap, KT-tape, some simple over-the-counter meds like aspirin, Tylenol, Ibuprofen, Benadryl, Imodium, small scissors, small tweezers, and the such.

10 Essential Item 1st Aid & Matches
First Aid & Matches

Matches or Fire Starter
What’s really needed here is a way to start a fire incase you get lost. This is a survival type situation item here. A butane lighter with some sort of fire starting aid like dry lint or tinder, in a small container works too. My stove has a piezo lighter/igniter, but I also carry a small butane lighter or a small box of water proof matches, just in case the igniter breaks (it has).

Map and Compass
Even when starting out on a well marked trail you need to know where you’re headed and be able to navigate basic directions. I did a day hike from Newfound Gap with my dad a few years ago in the Great Smokie Mountains. We came across a hiker heading our same direction. Long story short, he was lost on a well marked trail and had to backtrack to his start. If you’re using your cell phone or an app as many people (including myself), a compass is a great battery free, water proof, quick and easy to use tool to aid you in finding your way and help keep you from getting lost. This is the compass always take with me backpacking. It’s a older Silva Starter compass I’ve had for years. It’s simple and works well enough to navigate with.

10 Essential Item Map & Compass
Map & Compass

Water Storage
For a simple day hike I typically use a standard 1-liter Nalgene style bottle or something of equal capacity. When backpacking, my number 1 recommendation and go-to is the Platypus hydration bottles. I always carry two Platy 2-liter flexible bottles as part of my hydration system. They are very light, tough, fold flat when empty and form to the pack contents. Having two of these bottle gives me flexibility in my water carry based on weather and trail conditions for only ounces. For long treks where potable water may not be available, you also need to consider water treatment options.

10 Essential Item Water
Water Storage

Trail Food
This is snacks to maintain hiking energy between meals. Any kind of favorite trail mix or granola is a nice treat to nibble on as your walking. This can be a simple homemade trail mix or can also be something like trail snack bars such as Cliff, RxBar, Nature Valley, & PowerBar. These generally pack and keep well. Watch out for some of the snack bars with chocolate drizzle or coatings, when the weather is warm they can be a mess. Pack an extra bar for those “just in case” times.

Rain Gear
This can be as simple as a disposable poncho or as complicated as a full rain suit. From my experience, if it rains, you will get wet. Regardless of the rain gear. My preferred rain gear is the light wind rain jacket with a hood shown. It breaths well and keeps most of the rain off me. It’s great for short or long hikes, it packs down nicely, and it works well when used as an outer shell over layer or alone as a light rain jacket. An umbrella is also a good option I’ve used on some trails. If I know I’ll be out in a monsoon, I may pack a full rain suit with jacket and pants. A lot of rain can be chilling, carrying away a lot of body heat, and lead to hypothermia.

Sun Protection
Here again, an umbrella pulls double duty and works well. Hats, long sleaves shirts, and sunscreen lotions are also great picks. Consider where you will be hiking and the forecasted weather. Look for a small sport stick sunscreen. At just a couple ounces it can help cover the high burn areas like the tops of ears, nose, cheeks, and shoulders without adding lots of weight to your pack.

It’s a good habit to pack some version of these “Ten Essentials” whenever you head out into the backcountry. Even for day hikes, consider carrying with you water, a snack, maybe a pocket knife, and small first-aid kit. You may use only a couple items or even none at all. But when something goes astray, you will appreciate being prepared.

#

Did you enjoy or find this post useful? Please let me know by leaving a comment below or join me on Instagram or Facebook.

Santee SP Camp at night

Hiking South Carolina – Santee State Park (with a Free recipe!)

It’s been almost 10 years since I’ve last camped at Santee. It was nice to get back out to this park. Working with a youth group this time, we camped in the primitive “Scout Camping” area at Santee State Park. Santee is yet another State Park gem in the South Carolina State Park system.

Santee SP boat ramp looking over Lake Marion

Set on the wester bank of Lake Marion, this park offers ready access to the lake, fishing, and camping. This 2500 acre park park in Santee Cooper County is easy to get to. It’s just 3 miles north of I-95 and the town of Santee. It’s a popular camping and recreation site for anyone seeking a break from the daily grind. While I’m usually found in the group or primitive campsite, there are about 158 standard camping sites, including 30 cabins. This park also has about 10 miles of bike/hiking trail. Somehow I’ve overlooked these in the past. I defiantly need to add these to my things-to-explore list for my next trip.

I’ve been to this camp dozens of times over the years. After a long hiatus, it was interesting to find virtually nothing had changed, at least at the primitive site. While functional, the primitive area old cold water bathrooms seemed exactly the same, down to the same peeling paint. Again functional, but unchanged in over a decade. I was able to get out of camp for a short walk. See a video of the hike here and let me know what you think.

Cooking class table layout
Cooking class

Our main purpose for this trip was to teach and model different cooking techniques for new campers. We included base camp and backpack style recipes, foods and food preparation, and cooking methods.

Free Recipe

Here is one simple quick backpacker recipe which everyone seemed to enjoy.

Chicken & Stuffing
Ingredients: 
1 Package of Chicken/Turkey Flavored Seasoned Stuffing Mix
1 or 2 Foil Pouches of cooked chicken.
1/2 to 1 Cup of water

In a group size pot (+- 1 liter), boil the cup of water and remove from heat. Add the cooked chicken, stir. Add the stuffing mix, stir well. Serve.

A 12-once package of stuffing mix can feed about two hikers. Adding a couple 2 or 3-ounce packs of chicken will boost up the protein. You can fancy the meal up with a few cranberry raisins and chopped nuts stirred in from your trail mix too.  

Favorite Time of year: Anytime for camping.

Things to Know: The breeze off the lake can be refreshing in the summer. However can lower the chill factor in the winter.

Camping: Camping is available at Santee State Park (reservations required).

Pet friendly: Must be leashed at all times, including the forest, okay everywhere outdoors except cabin and lodging areas of the park.

Getting There: Santee State Park is just North of I-95 and the town of Santee. It’s about an 1 hour drive from the Charleston. area.

#

Did you enjoy or find this post useful? Please let me know by leaving a comment below or join me on Instagram or Facebook.

On top of Blood Mountain 2011

My 2021 Backpacking List

What the heck to pack?

I’m heading out this weekend for a backpacking hike in the foothills of upstate South Carolina. I’m leading a small mixed experience group of hikers on this trip. One common question of new hikers is “What do I need to pack?” My answer is usually far from black and white. Specific gear recommendations can be very personal and individualized. I’ve seen people walk in to an outfitter and buy “everything” (from pack to socks everything) new all at once and I’ve seen people stuff what they have in a duffle they and hike the weekend. The bottom line is everyone is a little different and the same gear doesn’t work for everyone. I tell people to look around, shop around, find the things you like and try it out. Hiking or backpacking gear doesn’t need to be the latest top of the line. You need to be comfortable with your gear and it needs to perform for you when you need it to work.

I’ve been working on my gear list for years now. A little here and there. I’ll try something for a while, change it out, try something new. Generally I look for more efficient or lighter as I go. The most recent change up is with my pack. I’ve moved off my external frame to try out an internal frame. The plus of my new pack is it’s half the weight of my old, The con so far is I’ve had to take a whole new approach with organizing my gear in a top loading pack. I’ll probably come back to this later in the year. But for now, this is my basic packing list for 2021. Feel free to take a look and leave a comment.

#

Did you enjoy or find this post useful? Please let me know by leaving a comment below or join me on Instagram or Facebook.

Outdoor Tips – Headlamps

Are you looking for a new or replacement headlamp but not sure what to get? Between styles, cost, weight, lumens, batteries, different settings etc. It can get really confusing. Check out this headlamp guide from REI, it’s a great resource to help sift through some of the jargon. Whatever you settle on, consider a headlamp which uses common (AA or AAA) batteries. My headlamp uses AAA’s and I can a long time between needing to re-battery. A few years ago, while section hiking a part of the Appalachian Trail, I met a fellow hiker in the Nantahala Outdoor Center gear store. He was very frustrated, his “fancy” headlamp used special button batteries and of course the batteries had died several days prior. He had dropped off trail a couple times trying to find new button batteries with No-Joy, he couldn’t find replacement batteries anywhere and finally ended up just buying a new headlamp. Increasing your gear reliability and supportability will help save yourself some miles of future frustrations.

#

Outdoor Tips – New Gear

Looking to upgrade or replace gear? Watch for sales.

I know, I know. This sounds like “duh, no kidding.” It’s tempting, but new camping – hiking – backpacking gear can be crazy expensive. If you want to sale a little money, be patient and spend some time figuring out what you’re really looking for in a particular item. There’s so much information available now you can compare features and pricing easily. Considering last years model may save you considerably on “new” gear. Expect to pay full retail price on the new gear when it first comes out. When the “latest and greatest” new gear does come out however, stores will often discount the old or last years model to move it to make room for the new. I had been thinking about a new backpack for some time but the packs I had been considering were several hundred dollars and I just couldn’t make the plunge. And as luck would have it, one day there was an ad, I did some quick research, and was able to pick up a name brand backpack for half price because it was last years model. The best part is it’s also half the weight of my old pack!

Outdoor Tips – Seal It

There is little worse than being warmly huddled in a tent at 2 AM as the heavy rain starts, and there is a drip on your forehead. Except maybe waking up cold and wet to a flooded tent. Depending on how often you camp or use your gear, applying a fresh coat of waterproofing at the beginning of the season helps keep you happy when it rains.

The obvious item to hit is the tent rain fly, but also consider a healthy application of water proofing on other exposed tent fabric, backpacks, shoes, and even your rain gear. After several years of wear and tear and cleaning and washing, some of the original waterproofing may need a boost. Another useful tool in the weather proofing toolbox is seam sealer. Check the stitched seams for your rain fly’s and exposed tent seams for old or no sealer. It’s a huge help in stopping leaks where stitching pokes holes in the fabric. Apply as needed and of course follow the manufacture application instructions.

Checking your gear and applying fresh waterproofing and seam sealer (as needed) at the beginning of the camping season goes a long way toward extending the life of your tent and other gear, not to mention keeping have a dry place to go when the rains come.

#

What to do when the magnetic North Moves on you?

In recent news, the earths magnetic north pole has moved. A lot. What does this mean for the hiker trying to find their way?

If you are planning to navigate with a magnetic compass, the first thing you need to know is the average amount of variation in your area. In parts of the country and world other than South Carolina, the variation may be more or less and can be to the East instead of West. In South Carolina the magnetic declination or variation is normally between 6 and 9 degrees (depending on where you are in the state) to the West. This means when you are holding a compass in your hand, the needle will actually be pointing about 6 to 9 degrees West of the earths true North pole, it’s pointing towards the earths magnetic North pole. To find the true North direction you have to add this westerly variation to your magnetic compass reading. Simple right? Maybe.

Some compasses include an adjustment setting for declination or
variation. This is great if all your navigation is typically in one area and you have a large amount of declination, greater than 10 degrees. you can make the adjustment for your area and the compass will indicate true North. Most maps will have some sort of compass rose which typically will point to true North and may also indicate magnetic North. You should always use the most recent maps available for your area.

While a lot depends on how far you are traveling, most hikers follow established trails. In these cases, the compass is an aid to make sure you are heading in the correct direction on the trail, or to simple help you get back on trail if you step off for a quick bathroom break of to explore a bit (of course you would need to take a bearing when you head off). If you are truly navigating open areas with long distances where a couple of extra degrees of error may matter, I would recommend augmenting the compass with GPS or other aids. With regards to the movement of the earths magnetic North, I wouldn’t worry about it too much, yet.

#

Outdoor Tips – Land Navigation

Staying found is both a skill and an art. Having solid map and compass skills are invaluable when exploring the outdoors, even if you are using modern digital navigation tools. Traditional map and compass know-how will make you a better navigator and help you stay found. 

The first thing you need is a good basic compass. Here I lean toward simpler is better. I have an old starter compass I always carry with me backpacking as my go to compass. It’s fairly small, light and easy to use. Something simple like the Silva starter compass is inexpensive, works really well, and is small enough fit comfortably in a pocket or leave in a pack so you will be more likely to have it with you.  The main features your compass really need are a rotating degree ring or bezel with clean easy to read graduations, an index line, and clear base plate with a direction of travel arrow. These features make it easier to read a map with the compass and plan a course. At least initially, I would stay away from folding or lensatic compasses, small button or pendant compasses, compasses with bells, whistles, mirrors, and hard to read dials. There are lots of great internet learning resources and videos such as REI’s How to use a Compass video, Backpacker’s and WikiHow’s How to Use a Compass instructions. If you buy new compass it likely will come with instructions as well, read them and practice a little.

Being able to using a map and compass together allows you match the physical terrain of where you with your location on the map and plot a course when you need to go or where have come from.  Any map is better than no map. Even a simple hand sketch of a map is better than no map. If you can, use a map with good detail for the area you’ll be navigating. Unlike with the compass, the more detail in the map the better. I can navigate a whole lot better with a simple compass and detailed map, than I can with a complicated compass and simple map.  And use the map for planning so you can better picture and orientate the map to you location. Look for a maps compass rose or symbol. Most of the time the top of the map will be North, unless there is a compass symbol. Once you can figure out the map north then look for some sort of scale. Now you can measure direction and distance. You’re ready to navigate now. 

A few tips: When selecting a compass, try reading the dial in a dark room or area of the store, when you really need a compass it’s often in poor lighting. Some markings and graduations are difficult to read in low light. Keep the compass away from metal objects when using it. Things like belt buckles, watches, necklaces may affect the magnetic needle of the compass. Also be sure to hold the compass base plate flat and level so the compass needle can float and move freely. 

Knowing how and being able to use a map and compass together will help ensure you stay found and when other things go wrong, these skills will help you find your way.

#

Ready or not, here we go!

My backpack is packed inside a suitcase, waiting by the front door. In the morning we leave for an adventure. The last time I did this I ended up hiking on a broken leg for four days.

My brother and I are heading west in the morning to explore the wilds of Arizona for several days. In all fairness, last time I thought I had just sprained my ankle. Note to self; don’t fall down a mountain this time.

#

Page 1 of 3

Powered by WordPress & Theme by Anders Norén